

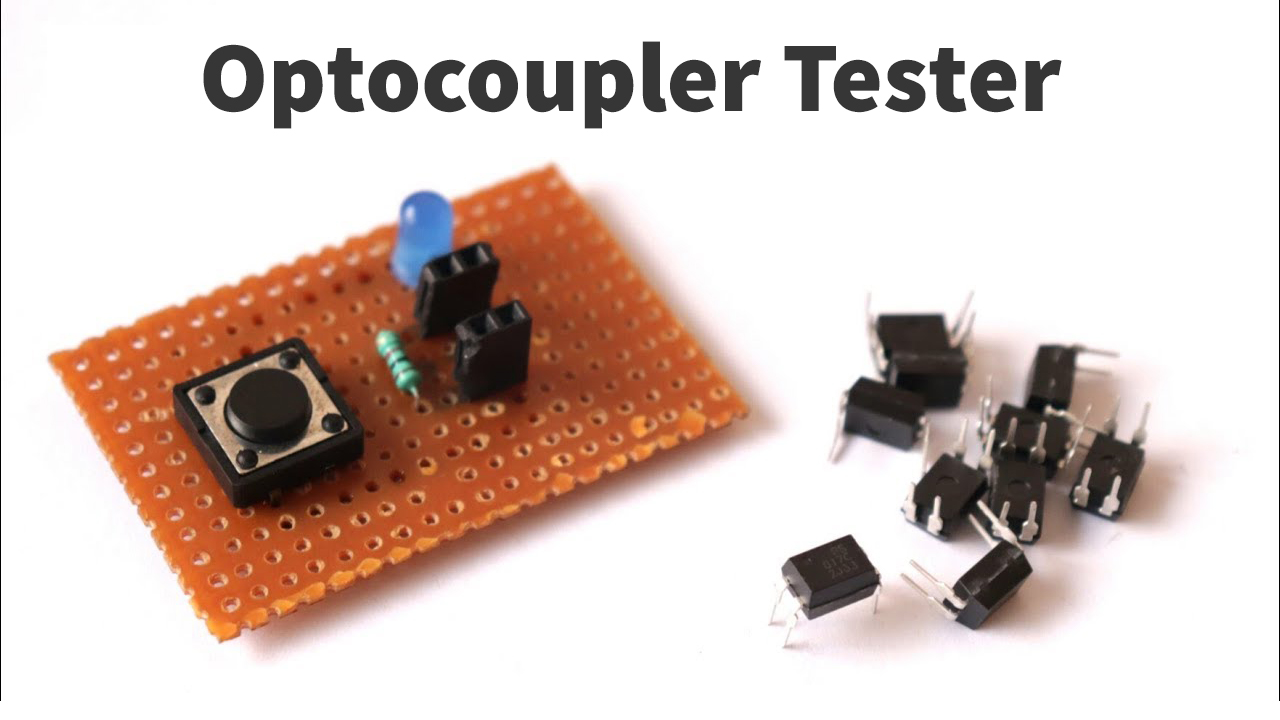
In this project
An optocoupler is a simple electronic component that is used to connect separate circuits together by the means of a light-sensitive optical interface. An optocoupler or optoisolator consists of a light emitter, the IR LED, and a light-sensitive receiver which can be a single photo-diode, photo-transistor, photo-resistor, photo-SCR, or a photo-TRIAC. Optocoupler testers are used to check the functionality of any optocoupler receiver.
It is a simple, useful & inexpensive circuit that helps you in determining the functional health of an optocoupler. So, in this tutorial. we are going to go over a step-by-step process on "How To Make an Optocoupler Tester Circuit" for the PC817 general-purpose optocoupler.
Hardware Components
The following components are required to make Optocoupler Tester Circuit
| S.no | Component | Value | Qty |
|---|---|---|---|
| 1. | Optocoupler IC | PC817 | 1 |
| 2. | LED | 5mm, 3.5V | 1 |
| 3. | Push button | - | 1 |
| 4. | Resistor | 1K | 1 |
| 5. | Female Headers | - | 4 |
| 6. | Soldering Iron | 45W - 65W | 1 |
| 7. | Soldering Wire with Flux | - | 1 |
| 8. | Veroboard | - | 1 |
| 9. | DC Battery | 9V | 1 |
| 10. | Battery Clip | - | 1 |
| 11. | Jumper wires | - | As per need |
PC817 Pinout
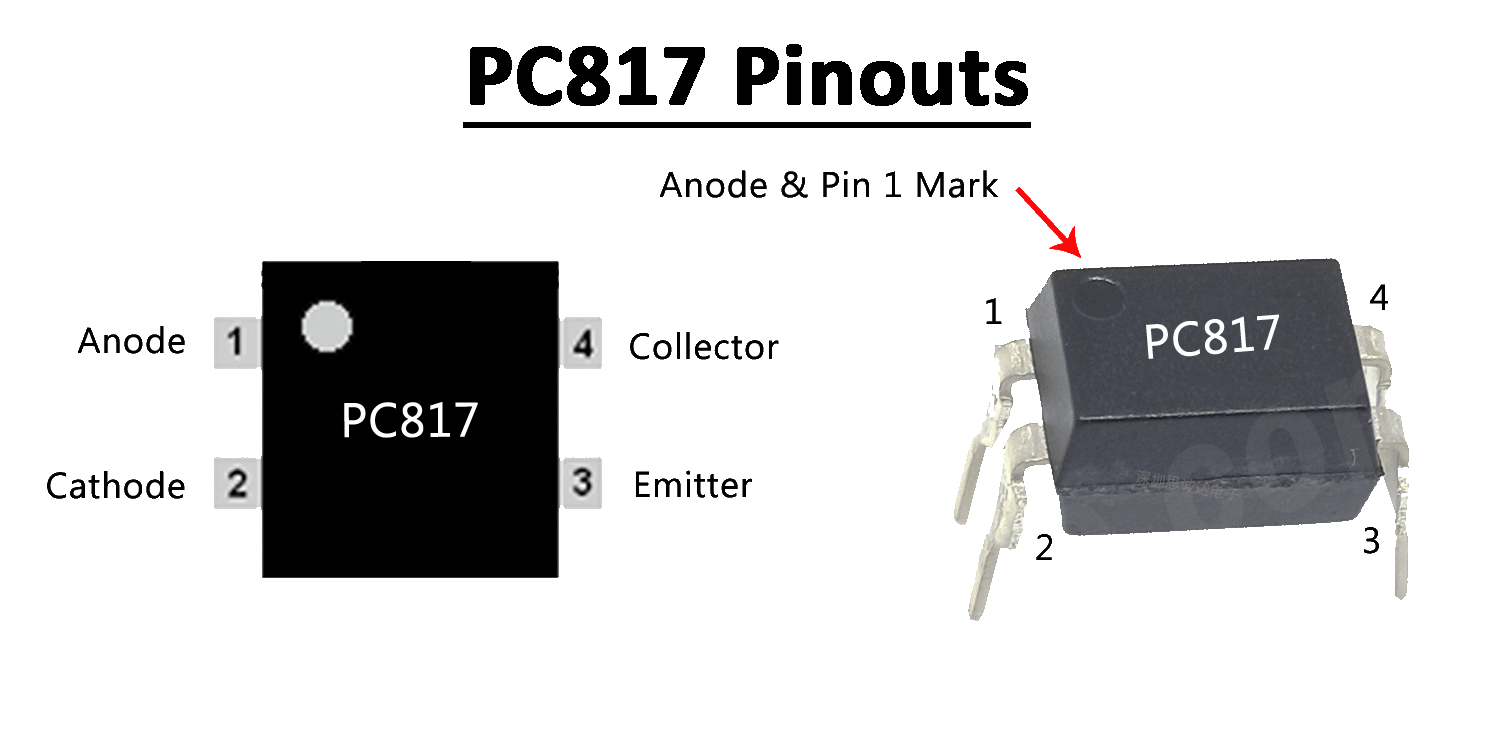
For a detailed description of pinout, dimension features, and specifications download the datasheet of PC817
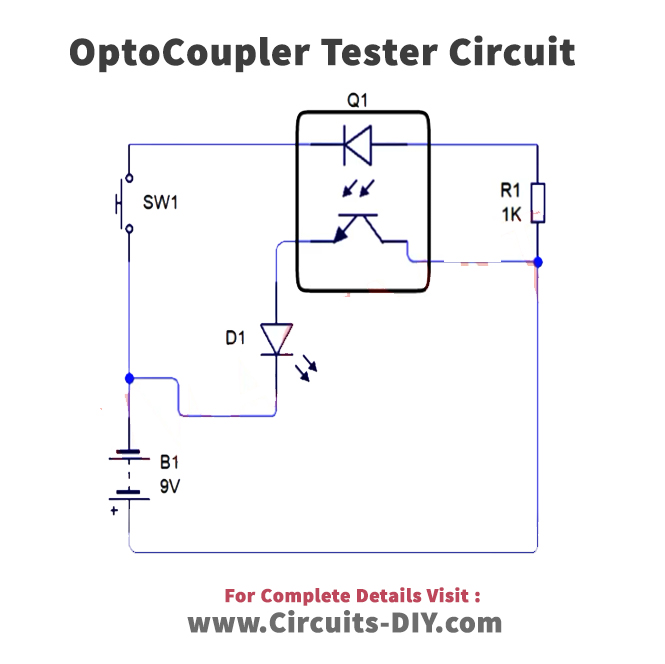
Optocoupler Tester Circuit
Useful Steps
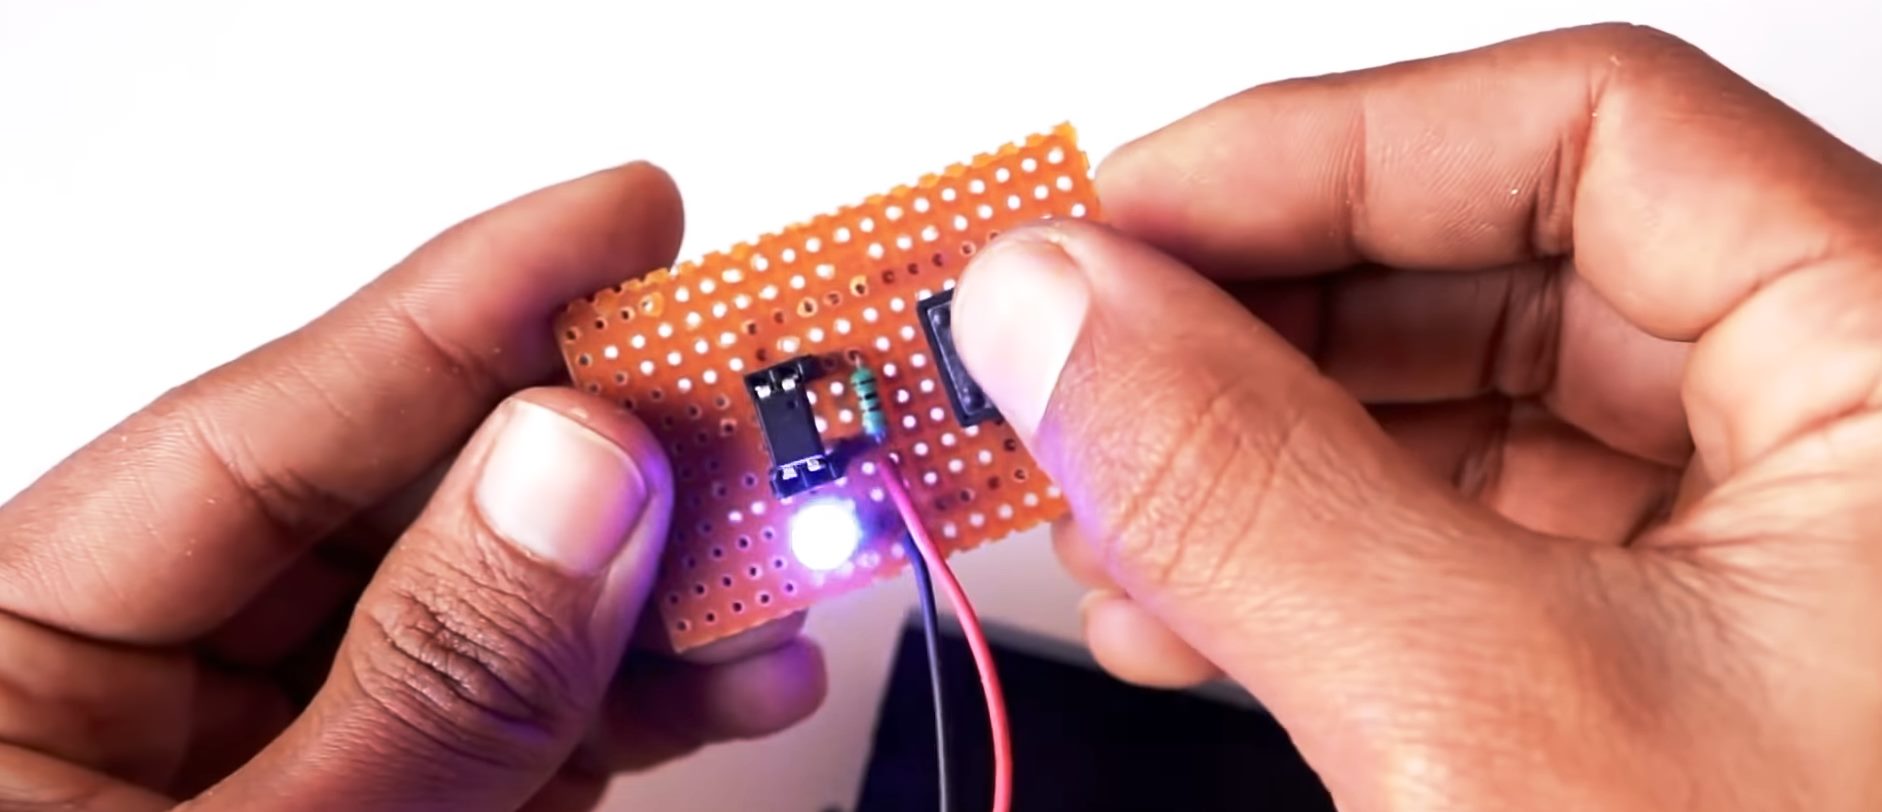
1) Solder two pairs of 2 female headers on the Veroboard.
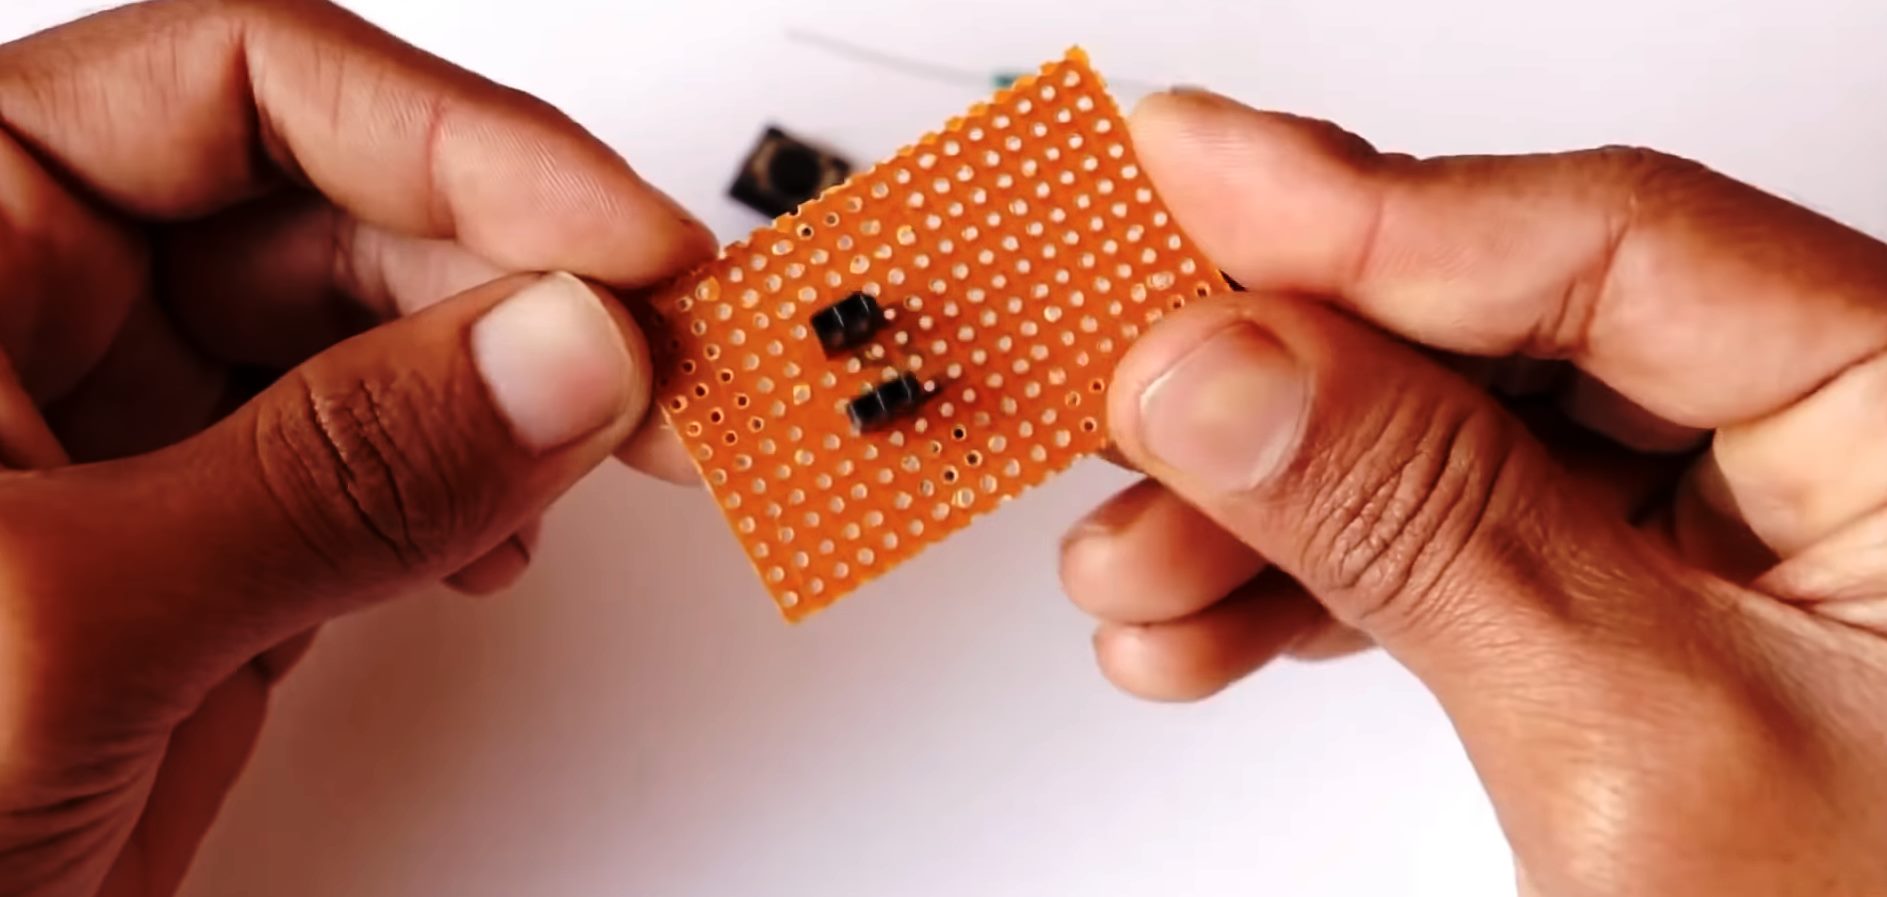
2) Connect a 1K resistance in series between the two female header pairs.
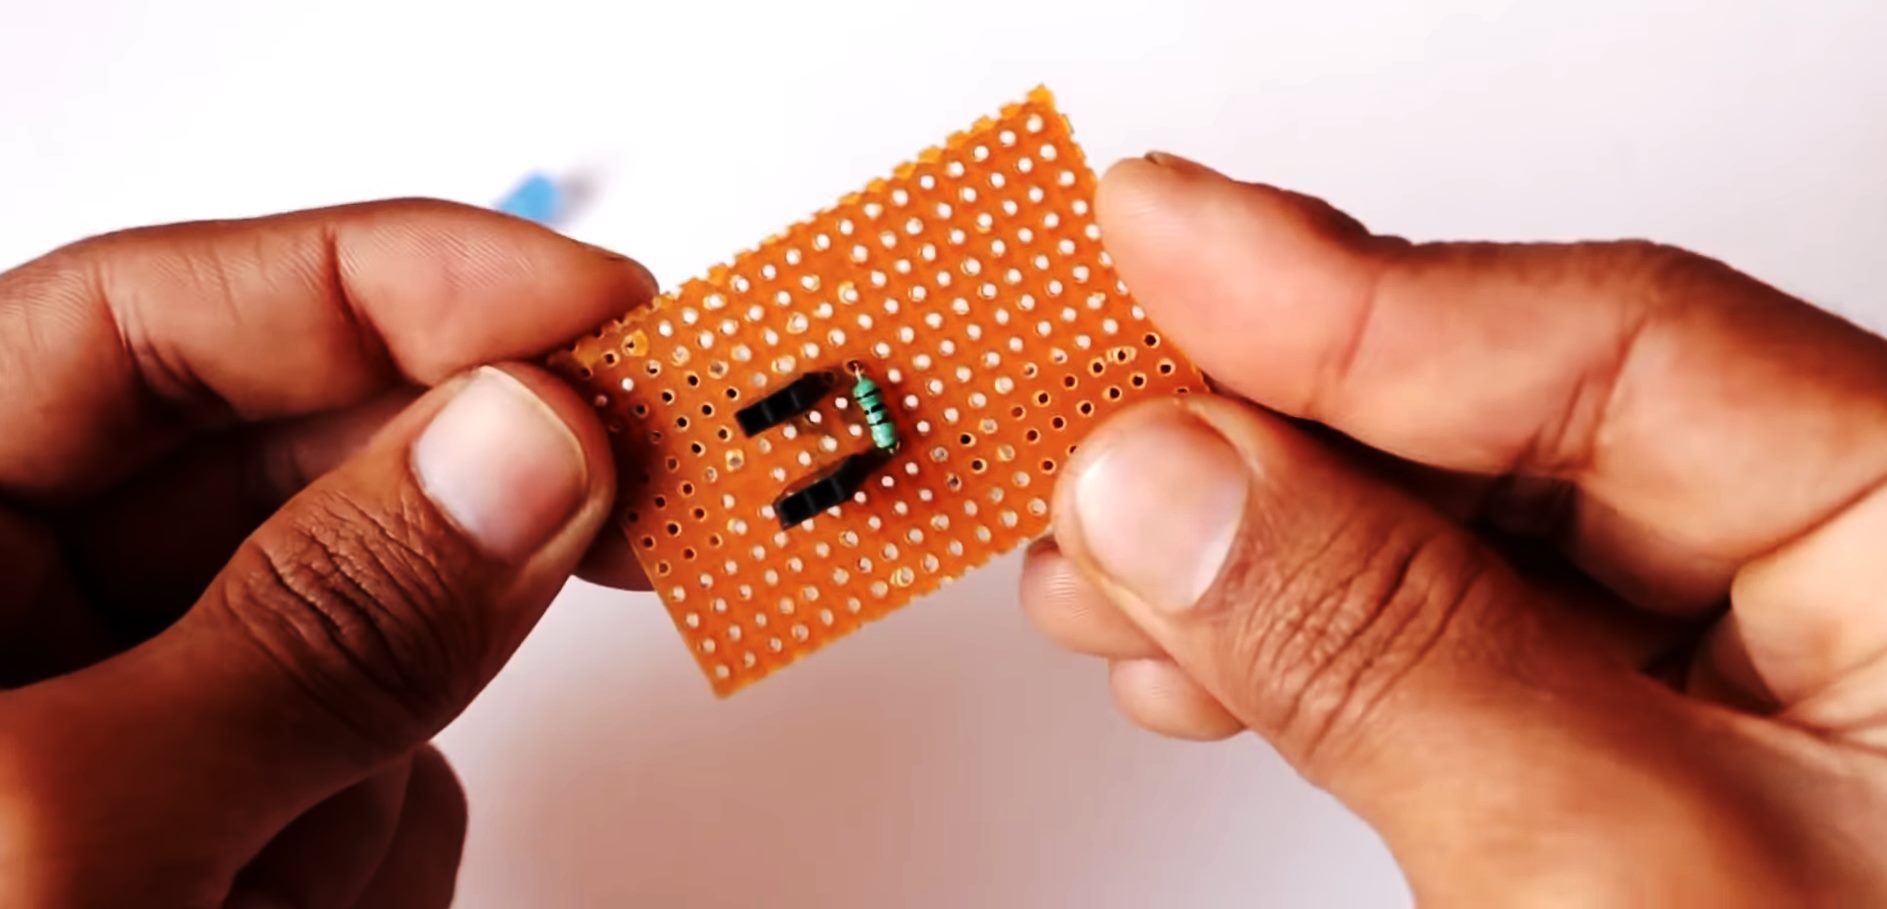
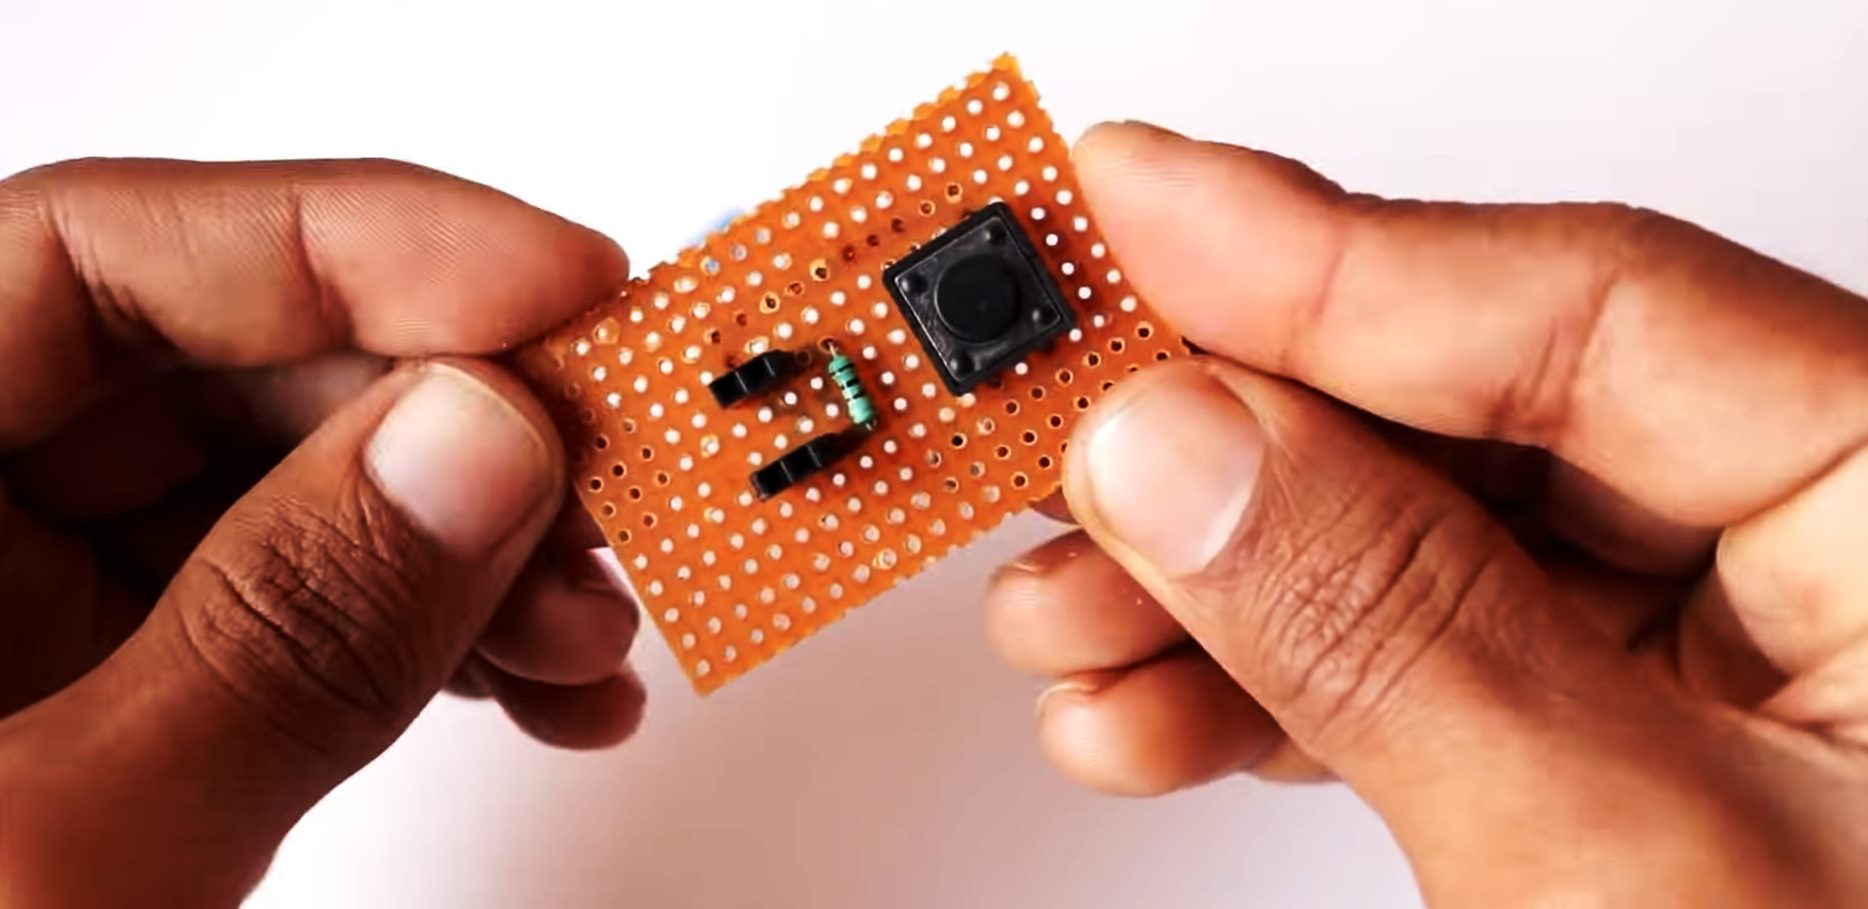
3) Solder the Pushbutton in series with the female headers.
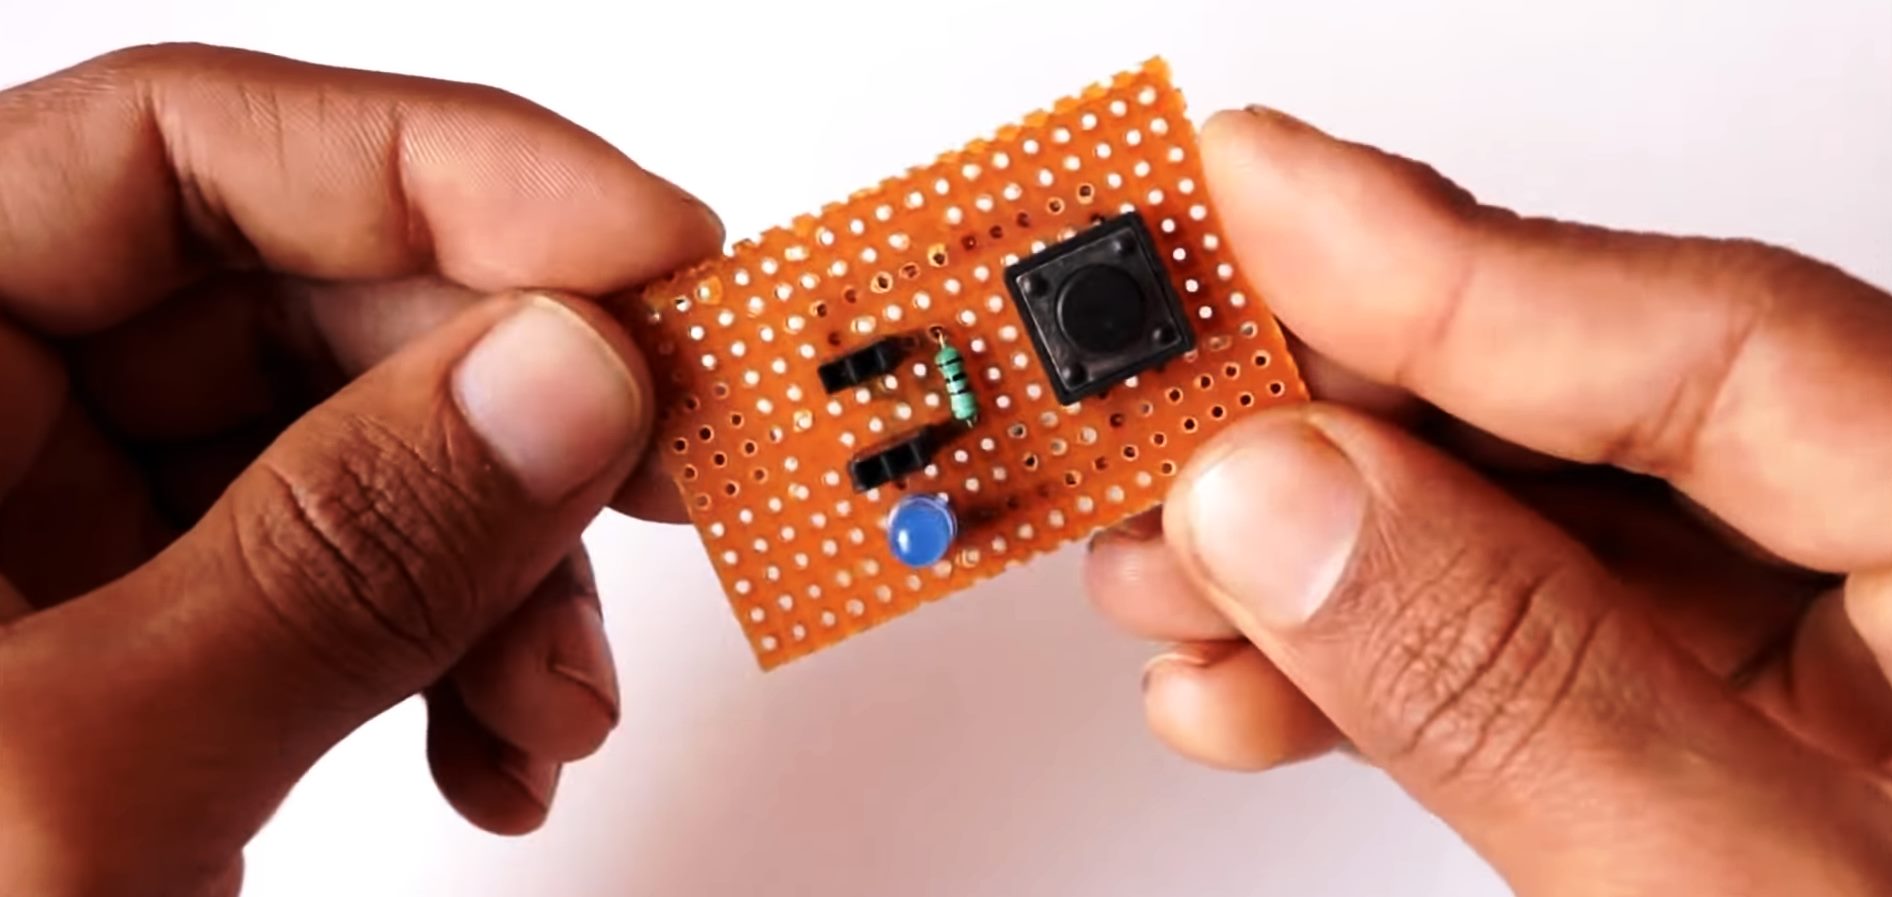
4) Solder the +ve terminal of the LED with output female header & the -ve terminal with the ground of the circuit.
5) Connect the 4V DC battery with the circuit.
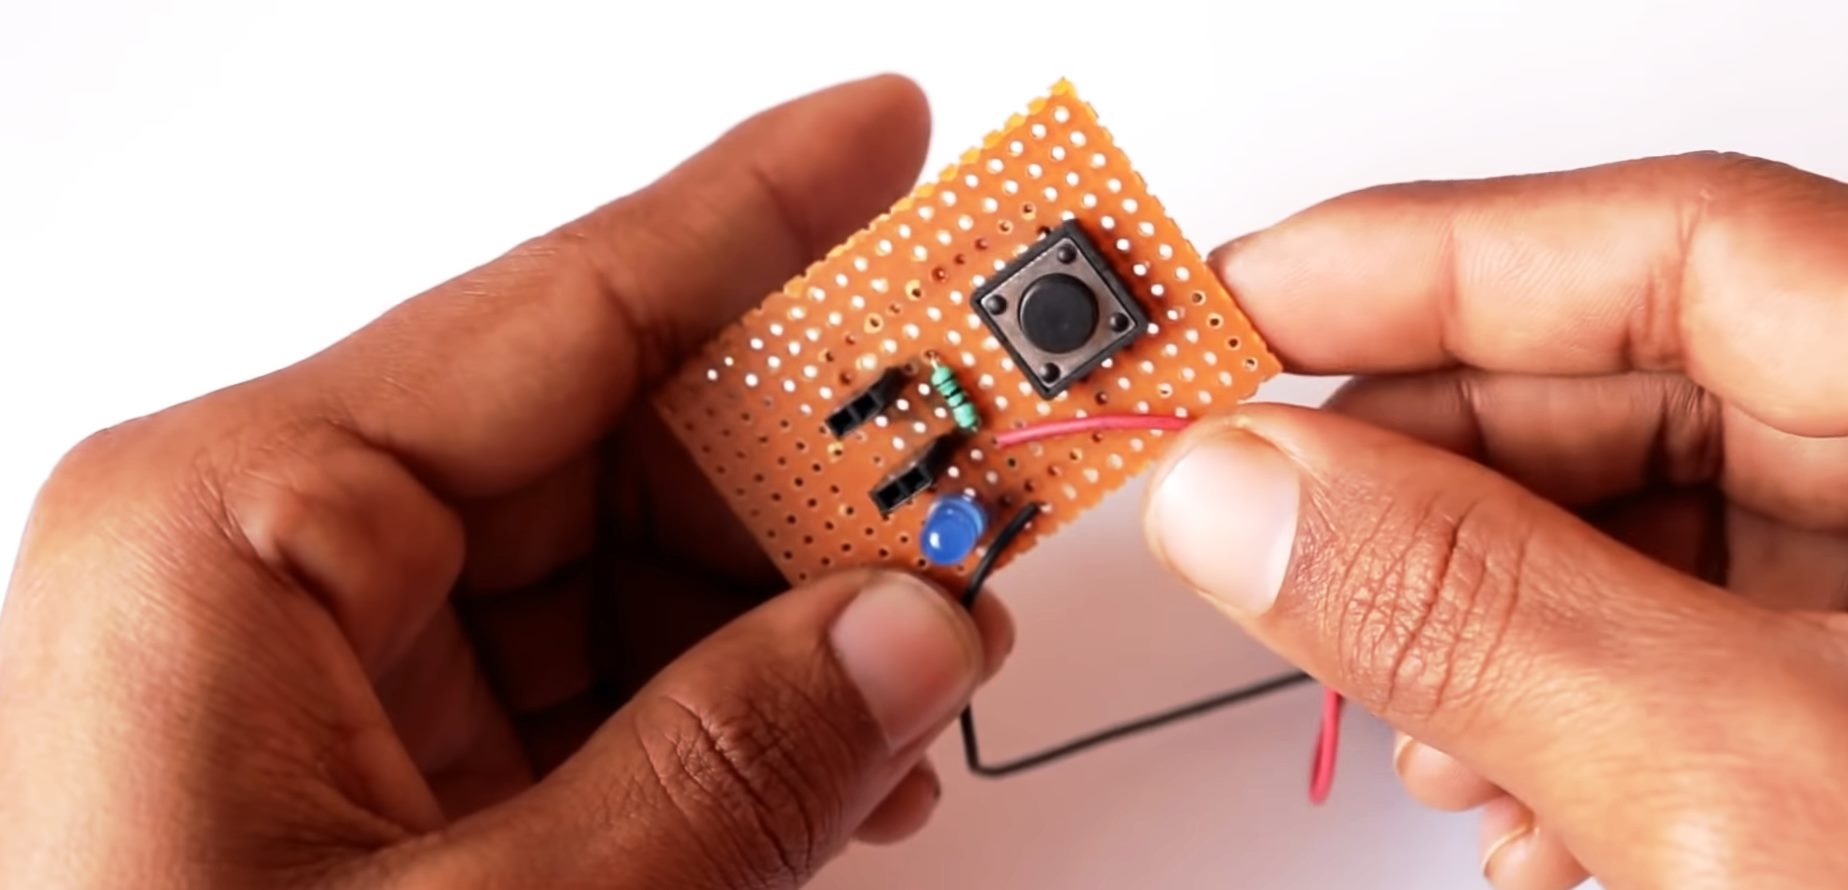
6) Place the optocoupler IC in the female headers. Power up & test the circuit.
Working Explanation
This circuit is basically used to perform the functionality test of any 4-pin optocoupler IC. In order to perform the functionality test, place the IC in the female headers so that the emitter of the phototransistor & IR LED anode pins of the IC are connected to the GND of the circuit, while the IR LED cathode & phototransistor collector pin of the IC is connected to the 4V VCC.
Now, Connect the circuit to power. On pressing the push button if the LED glows connected to the emitter terminal glows, it means that the optocoupler IC is functioning normally. If the LED doesn't glow, it means that the IC needs to be replaced.
Applications
- This circuit can be used to perform functional testing of any 4-Pin optocoupler IC.




Discussion
Be the first to comment